
How to Remove Anodized Coating
Anodized coating is very popular among motorcycle parts, DK Custom included.
If you're having fading issues or just want to change the look of a certain part, you can always remove it.
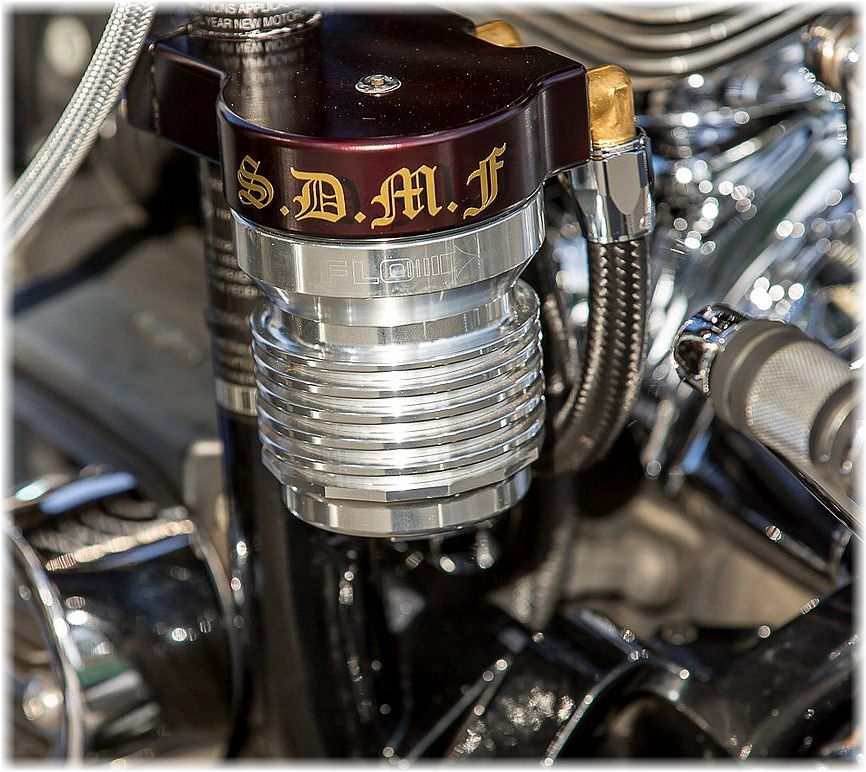
Below are some before and after pics of one of our Oil Filter Relocation kits that had begun to fade from the heat and the Australian sun-
Before removing:
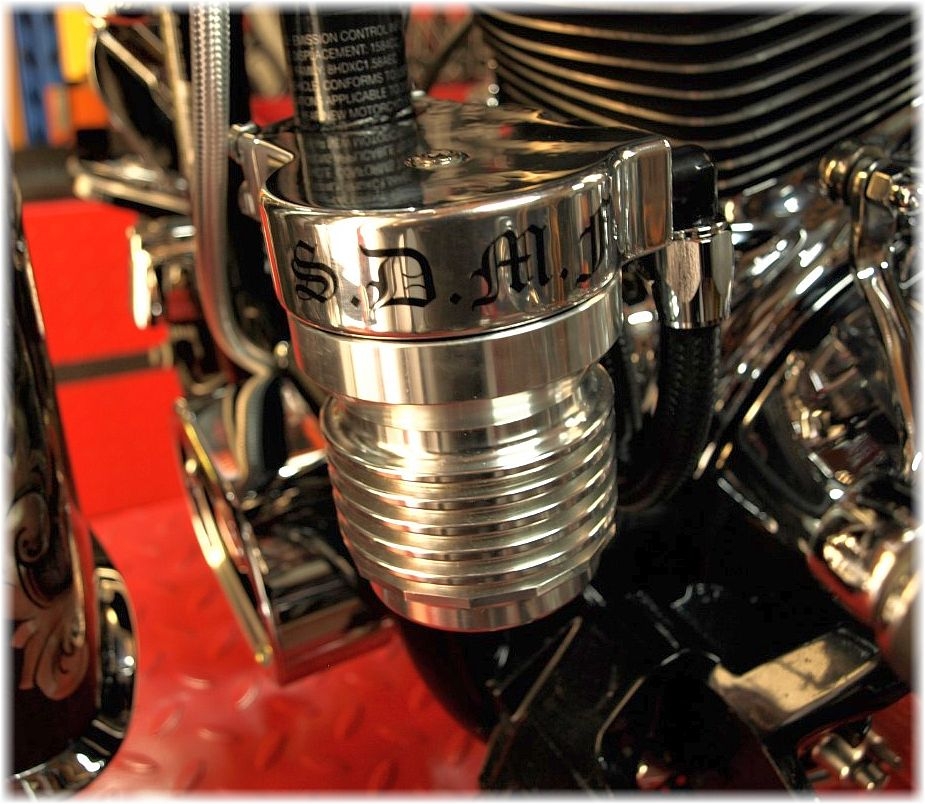
After Removing & Polishing -
Here is the step-by-step in which S.D.M.F. removed the anodizing -
1. In a well ventilated area, place the part in something like a glass bowl or container of some sort.
2. Cover it very well (drowned it, if you will) with spray on oven cleaner.
3. Agitate a little to be sure it's fully covered and let sit for apporximately 5 minutes.
4. After 5 minutes of "soaking", pull the part out and immedietly rinse with cold water.
5. Any anodizing that did not wash off in the water flow can easily be removed by hand with a wet cloth.
If all the anodizing was not removed in the first go, repeat if necessary.
And voila, you're ready to polish to your preferred shine!
Next is polishing the billet aluminum.
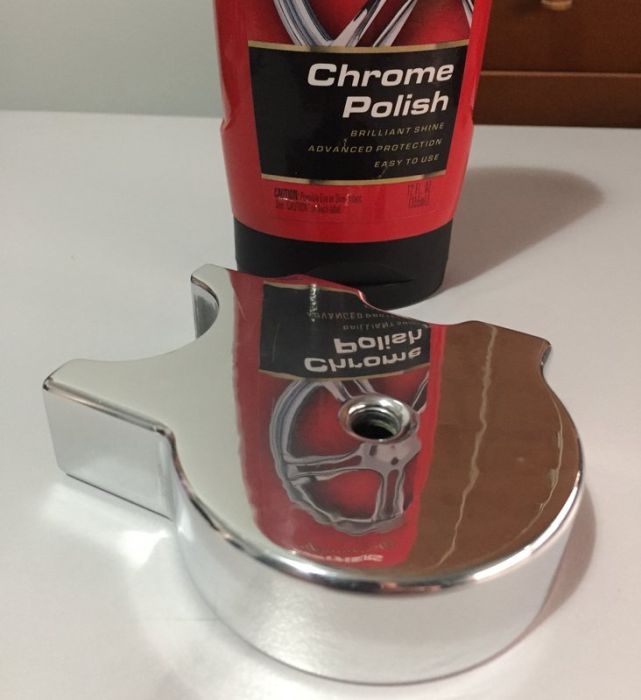
Depending on what kind of shine you want, you can spend 10 minutes to 2 hours. S.D.M.F. has a show bike, and this is what he did:
Then it was onto the polishing wheel. Working through the polishing rouge colours. Cutting and finally finishing with a polishing compound.
This can take some time, but the end result is proportional to the amount of time and effort you put in.
I did a hand finish polish with a microfibre cloth and some Mothers polish.
Photos and instructions courtesy of S.D.M.F.