DIY External Breather System
DK Custom DIY Head Breather on 2009 Ultra with SE Air Filter
By HDForum member FLshovelhead
I recently installed the DK Custom DIY Head Breather System on my 2009 FLHTCU Ultra Classic (with a Screaming Eagle Stage 1 air cleaner installed) and took some pics of the process. I also have the DK Custom "Deluxe" 1.5 inch tank lift installed on this bike.
Here's the stock air cleaner cover over the Screaming Eagle air filter:
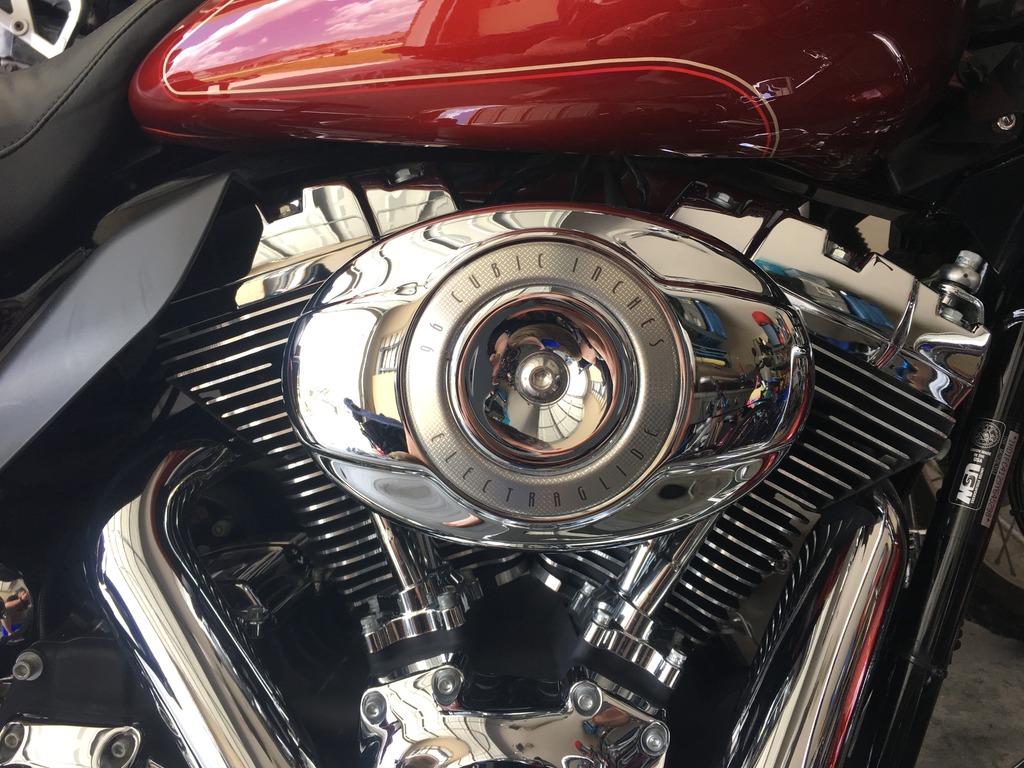
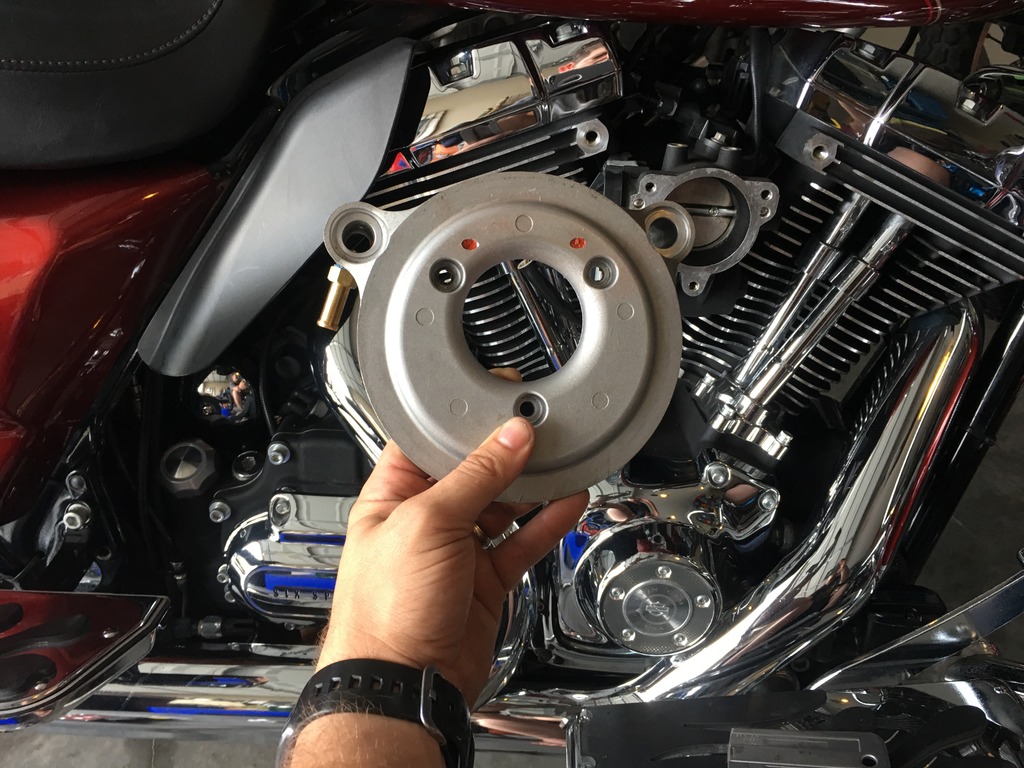
Air cleaner cover removed:
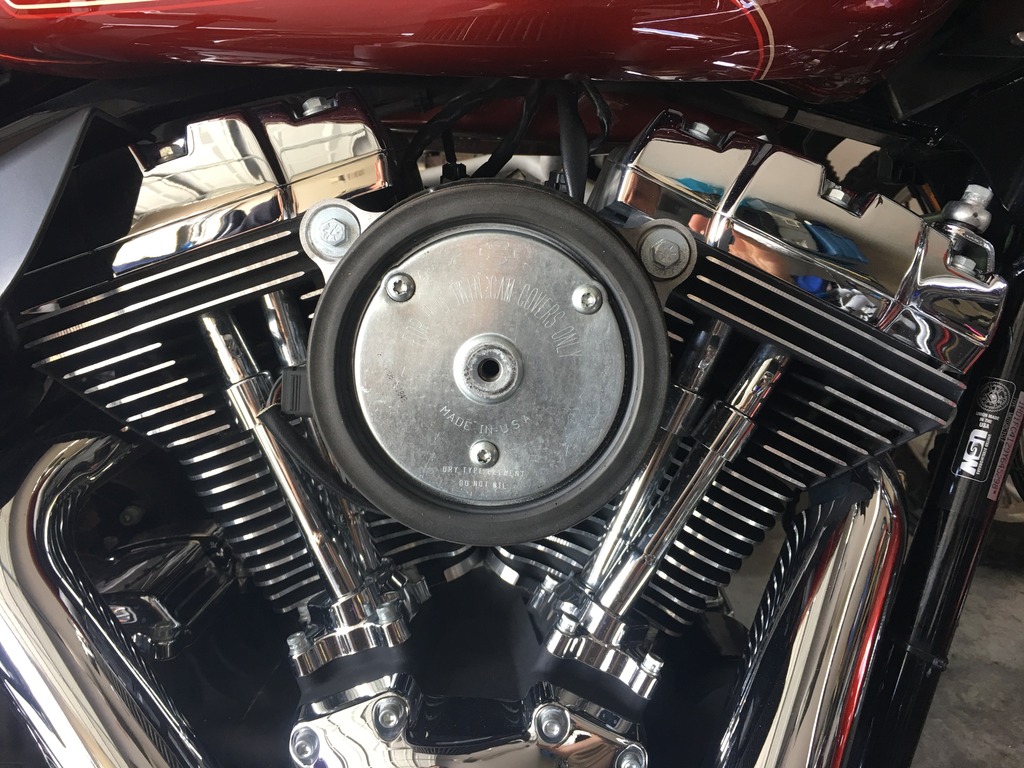
Air filter removed. You can see that oil was being fed back into the air filter, and ultimately back into the motor:
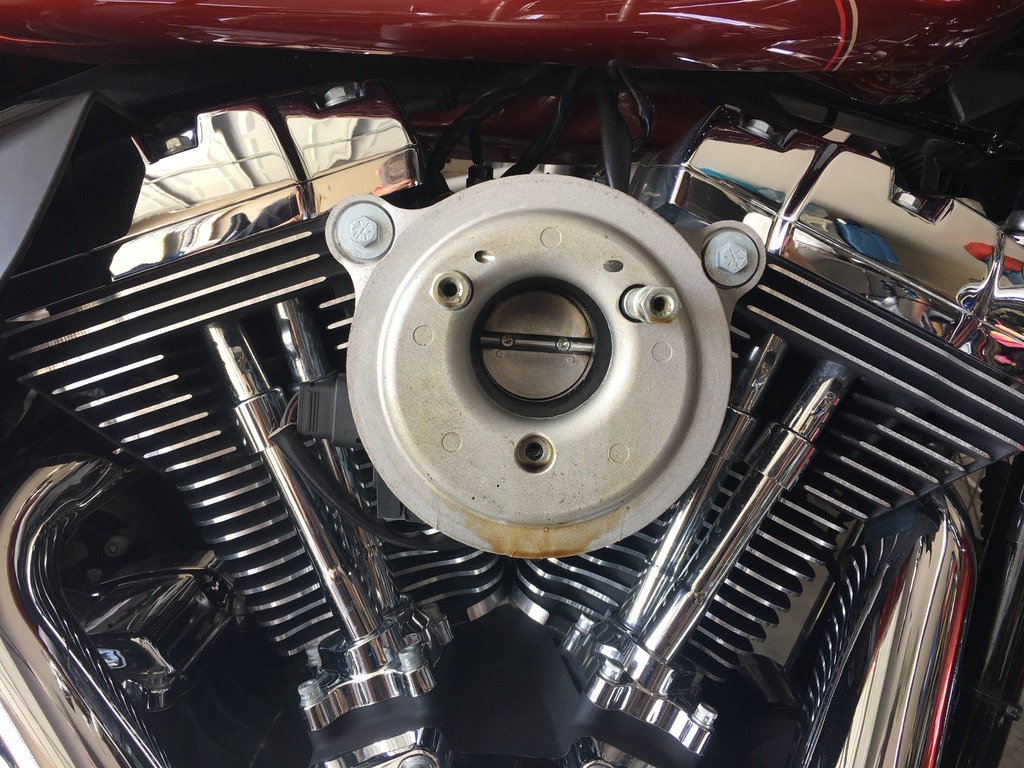
You'll need to figure out where to drill your holes for the external vents. Keep in mind that the external breather hoses will have to clear the intake body once you're done, so make sure you leave yourself enough room to work.
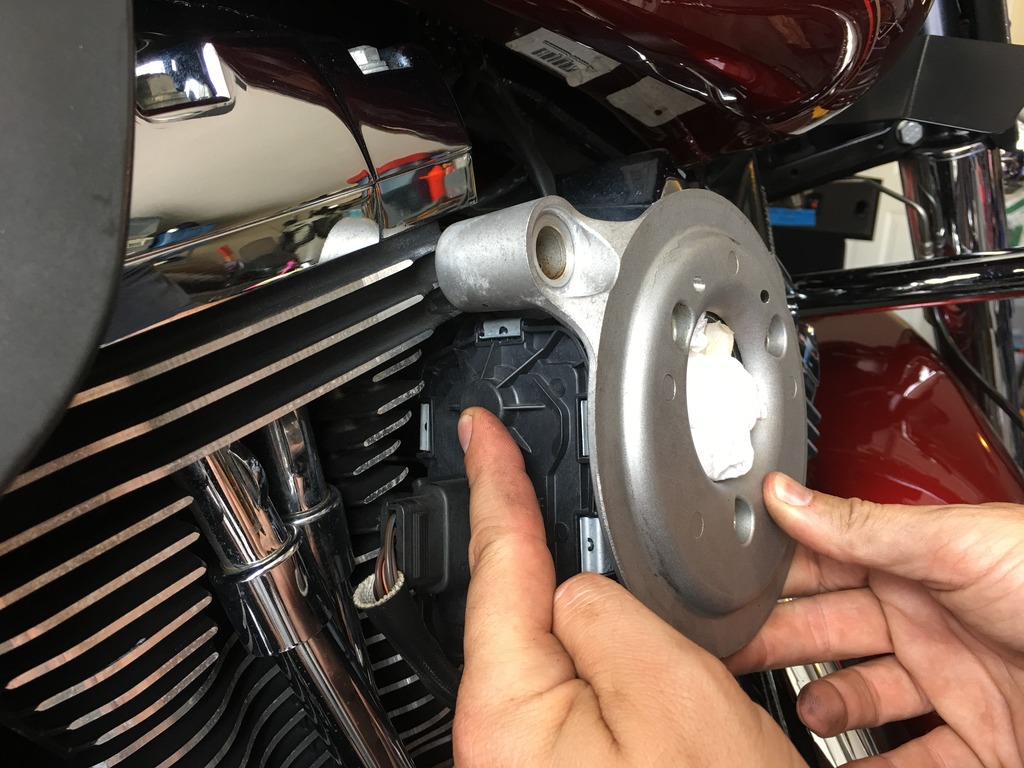
I pulled the breather bolts from the heads, but the SE backplate didn't come free. I had to gently wiggle/pry the SE backplate. As you can see, the gasket had stuck to both the intake and the back of the backplate. It needed to be scraped off with a razor blade.

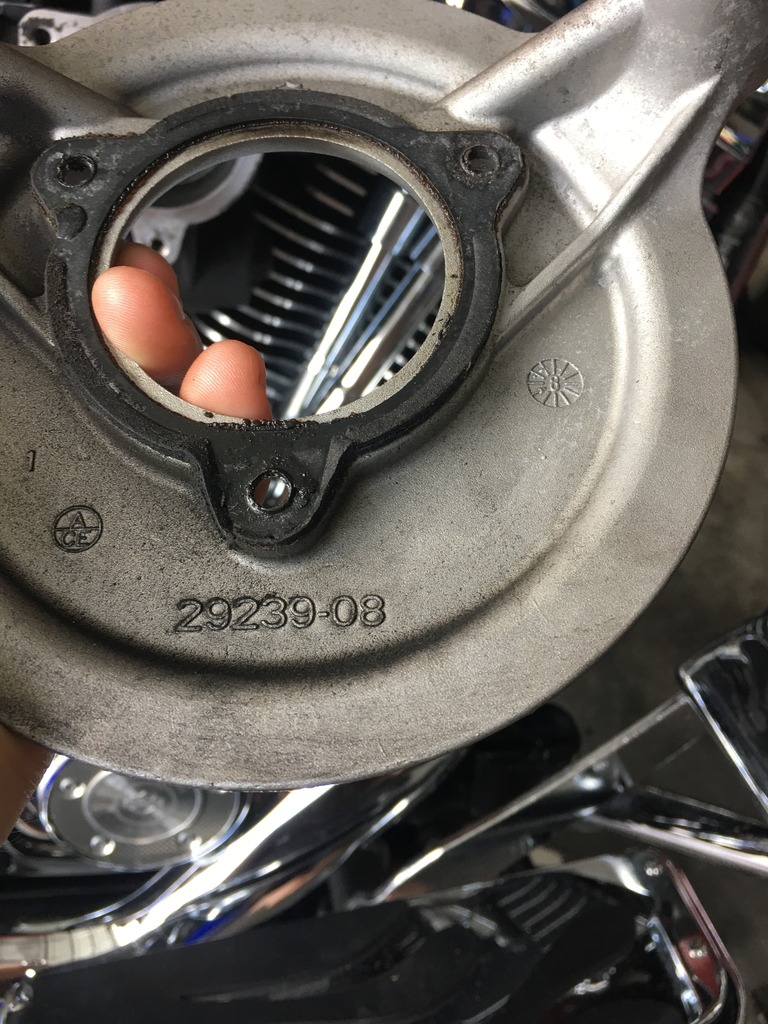
Now that the backplate was off, I marked the spot I wanted my vents with a sharpie. I used a center punch to start the hole, and then drilled a small pilot hole. I then enlarged the hole by gradually increased the drill bit size. The final drill bit I used was a 11/32 inch bit. Next, I used a 1/8" NPT tap to thread the holes.
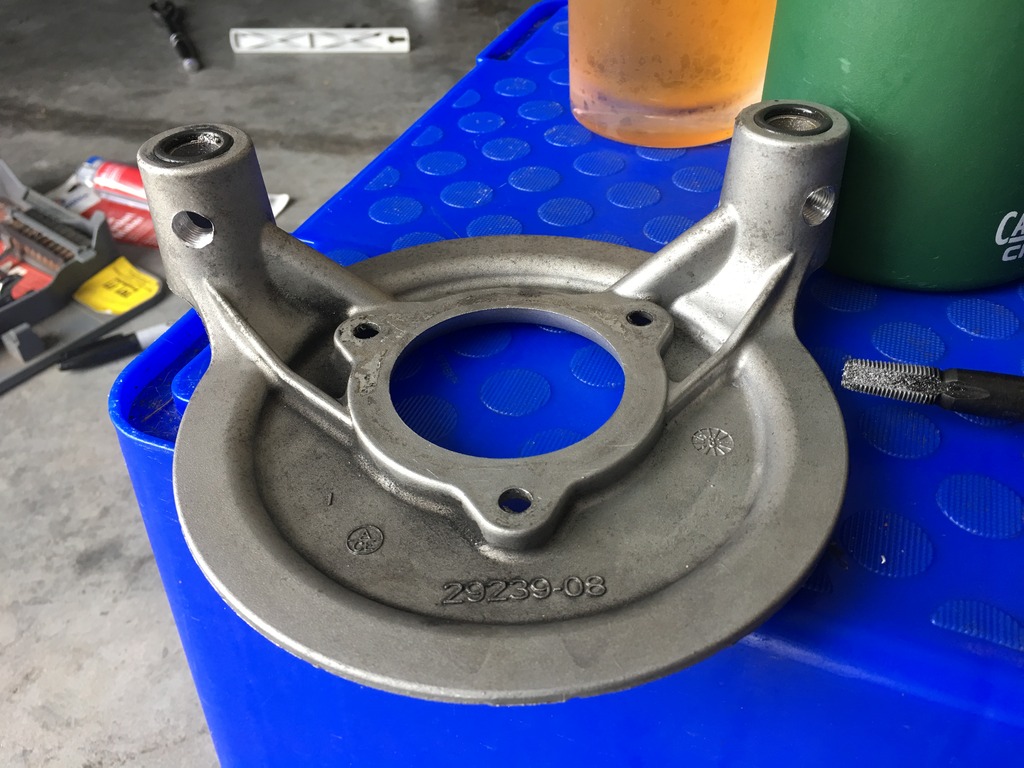
Now it was time to plug the passageways in the backplate (the ones that route breather gases back into the air filter assembly). I used high temp RTV.
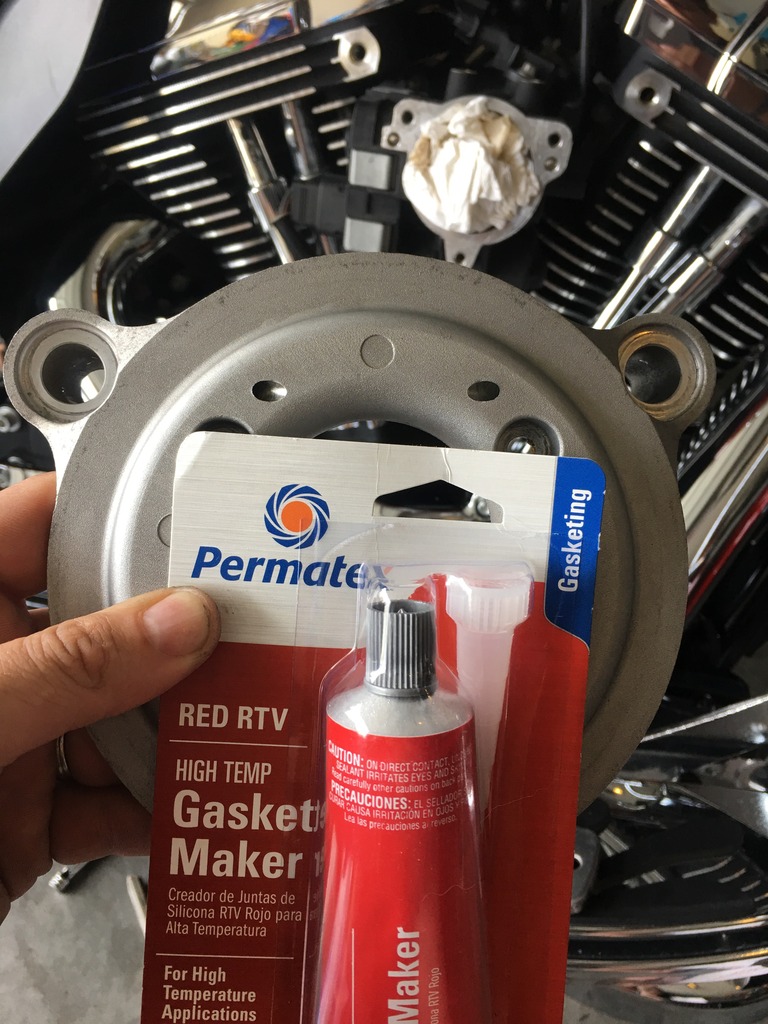
I used a razor blade like a putty knife to work the RTV into the hole, and then pushed the RTV further into the passageway with a punch (until the entire passageway was full with RTV). In the picture you can see RTV in the area where the breather bolts will need to pass through. Obviously that has to be cleaned up prior to the RTV drying up.
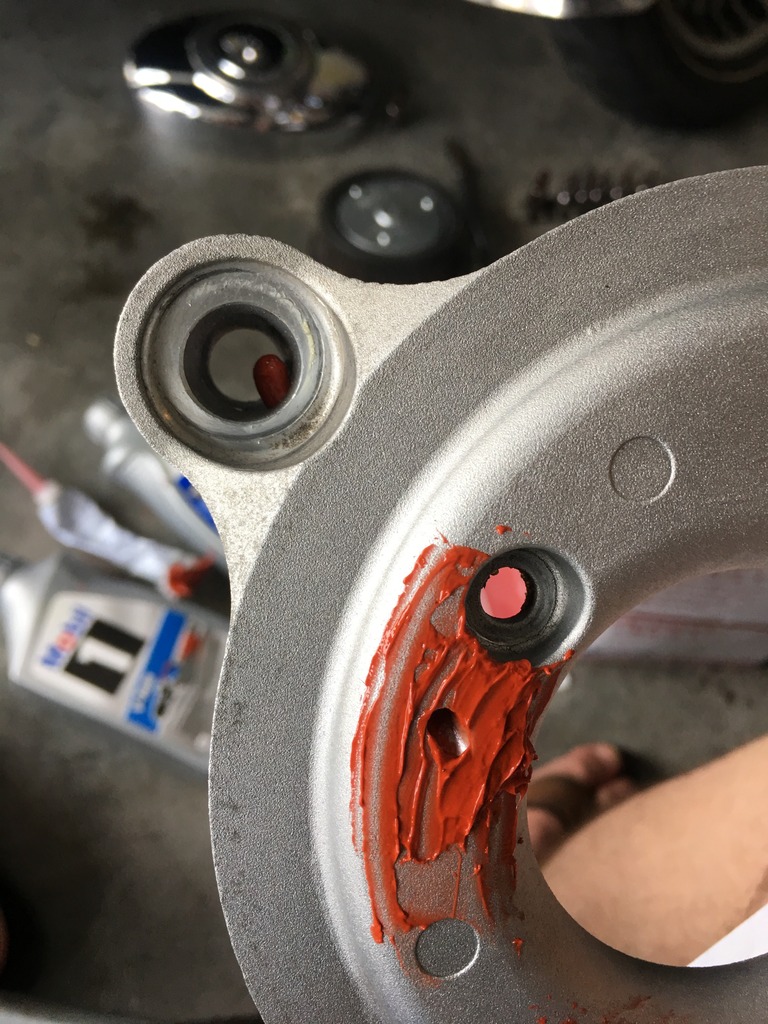
All cleaned up. Make sure you use locktite when you tighten down your new external vents.
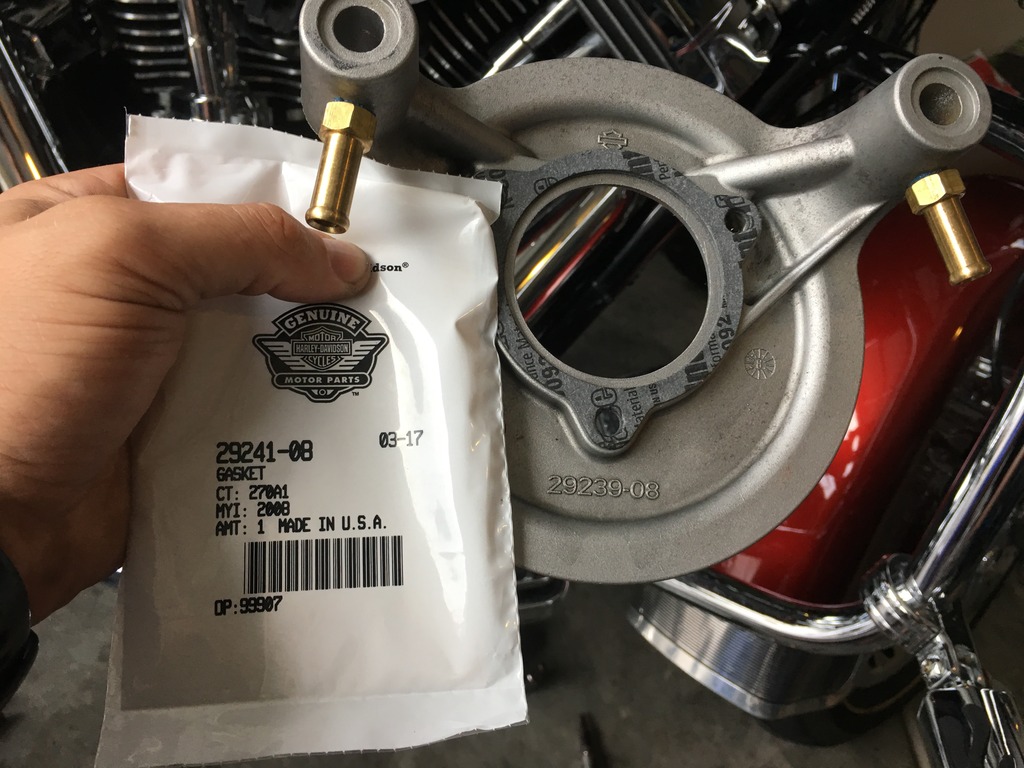
I installed a new gasket. The Harley part number is 29241-08.
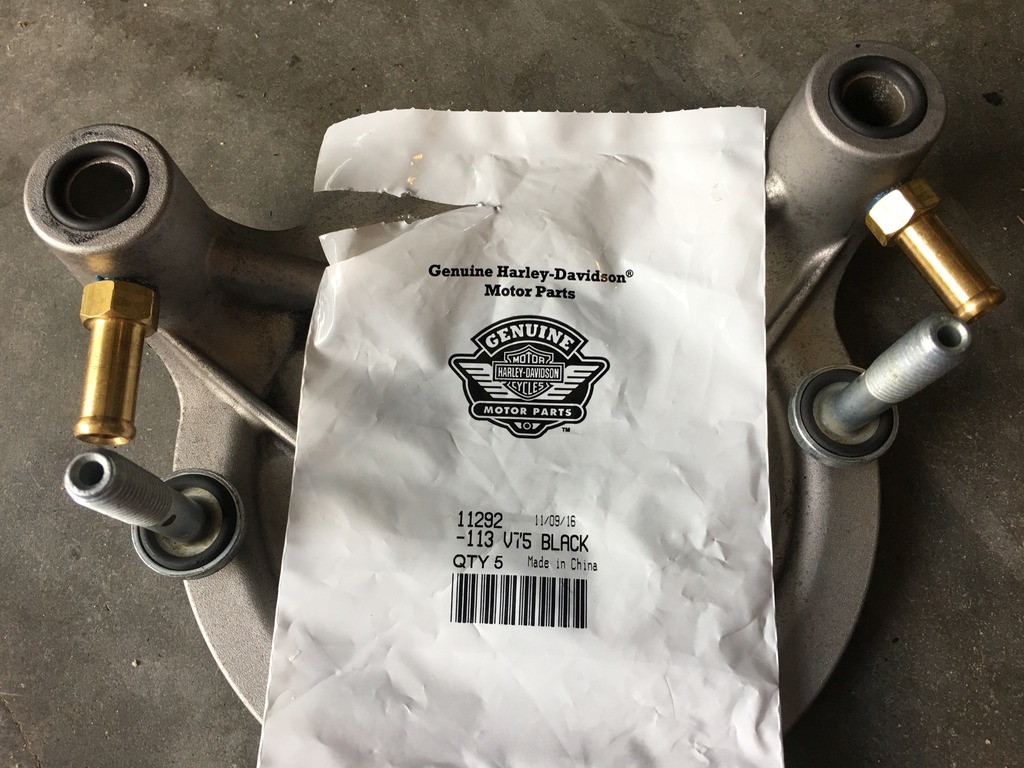
When I took the SE air cleaner apart I noticed that I was missing one of the o-rings that helped seal the breather bolts against the backplate. Since I had to replace one o-ring anyways, I decided to swap all of them out. I probably could have reused the old o-rings, but they were cheap. The Harley part number is 11292.
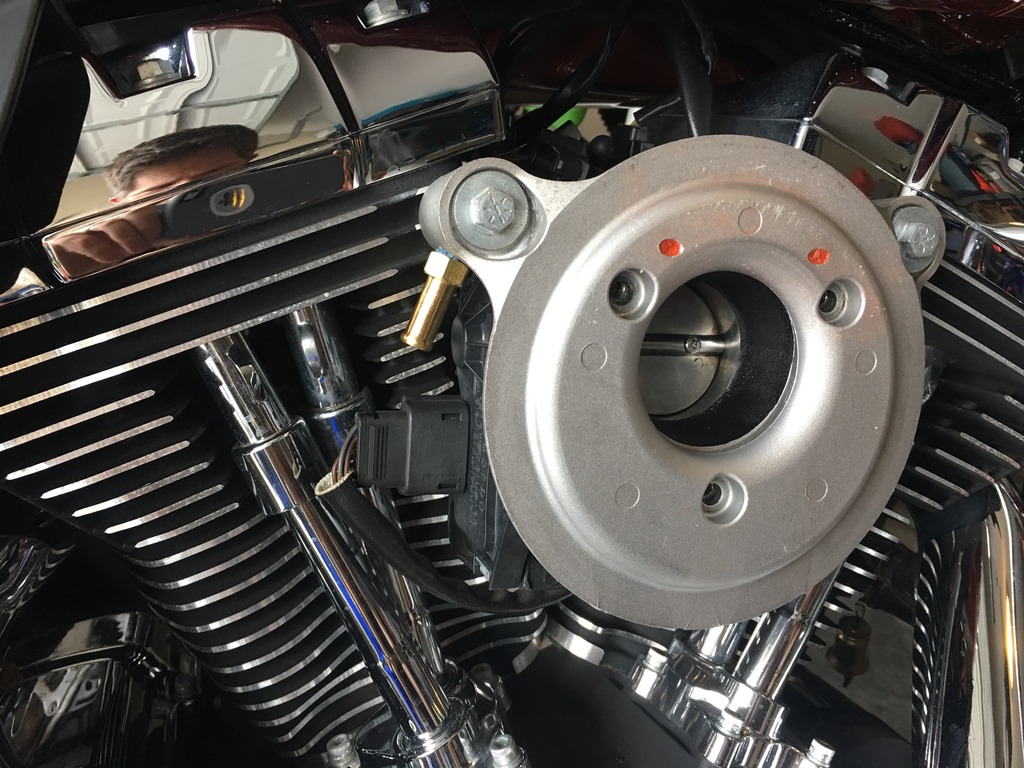
Now it's time to bolt the backplate up. You can see here how slightly angling where you place the vents leaves plenty of room for your breather hoses. Per the Screaming Eagle Stage One Air Filter install instructions the breather bolts should be torqued to 120-144 inch-lbs.
Hook up hoses to your external vents. They connect together via a t-connector. DK Custom includes both a brass and a black plastic t-connector. I opted for brass.
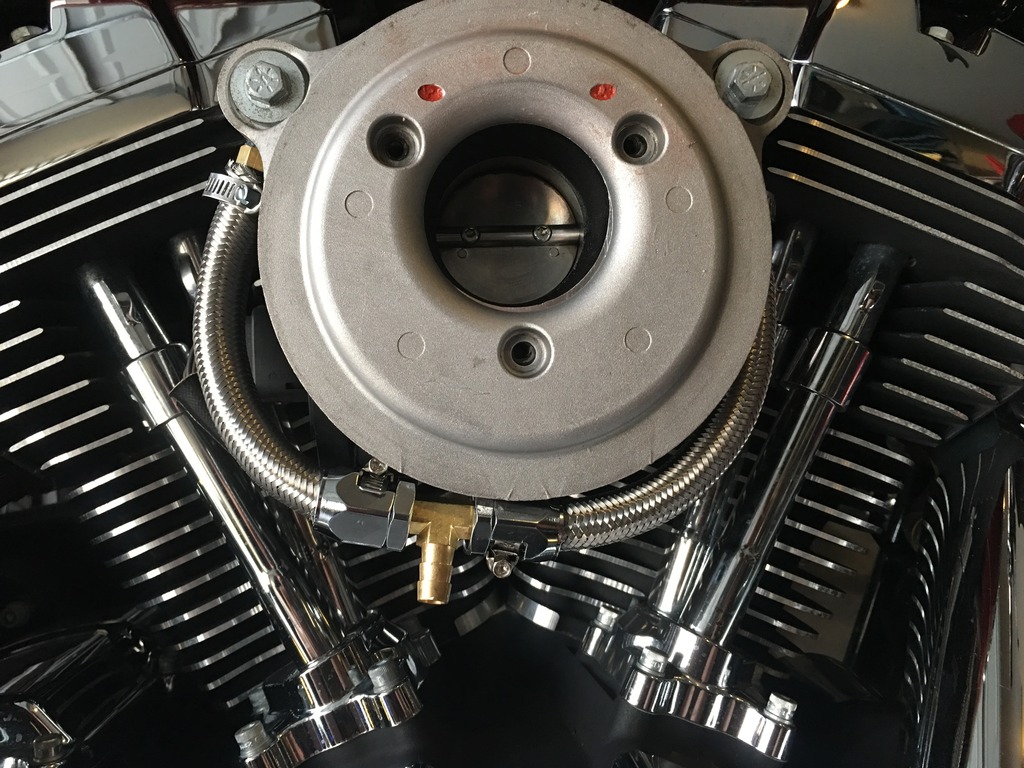
The other end of the connector goes to a filter.

I routed the hose down and zip-tied the filter to the frame (making sure the filter element doesn't touch the exhaust pipe).
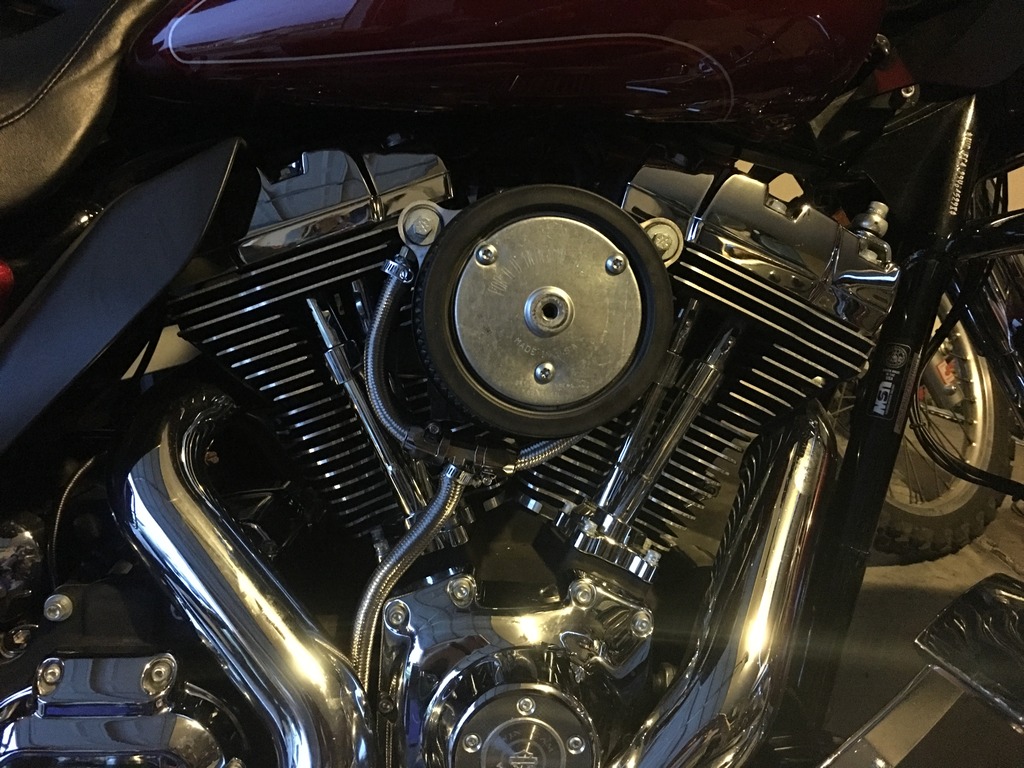
Finally, the football air cleaner cover goes back on. It does a great job of covering everything up.

